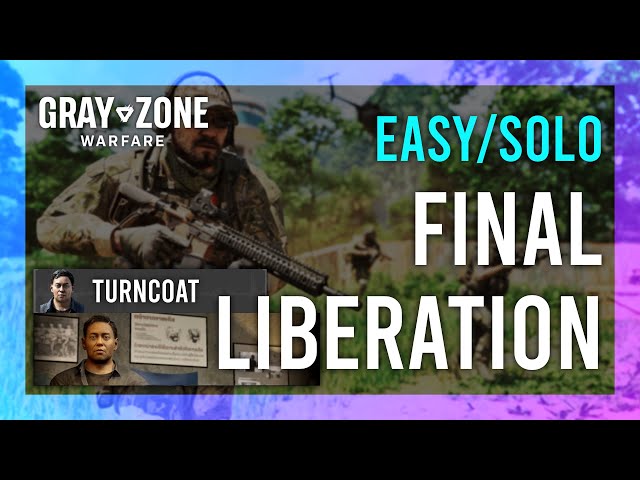
Okay, so I spent a good chunk of my day diving into “Gray Zone Warfare,” specifically aiming for that “Final Liberation” achievement. Let me tell you, it wasn’t a walk in the park, but I finally cracked it! Here’s how it went down.
Getting Started
First off, I fired up the game and headed straight for the area I knew I had to liberate. I had done some prep work earlier, scouting the location a bit, so I wasn’t going in totally blind.
The First Push
I moved in, trying to be all sneaky-like, you know? But those enemy AI are no joke. I got spotted pretty quickly and had to fight my way through a bunch of them. It was a mess. I used up a ton of ammo and had to pop a few medkits just to stay alive. I was not at all elegant about it.
Changing Tactics
After that initial mess, I realized I needed a different approach. I fell back, regrouped, and decided to try a more methodical approach. Instead of rushing in guns blazing, I started picking off enemies from a distance, using cover and trying to stay out of sight as much as possible.
Slow and Steady
This slower method worked a lot better. I was able to clear out a significant portion of the area without taking too much damage. It took forever, though. It was so tiring. I spent what felt like hours just inching my way forward, making sure I didn’t get flanked or surprised.
The Final Showdown
Finally, I reached the last stronghold. There were still a few enemies holed up inside. I threw a couple of grenades to flush them out and then rushed in, finishing them off. It was a bit hairy there for a second, but I managed to take them all down.
Victory!
And boom! “Final Liberation” unlocked! It was such a relief. I had been working on this for a while, and it felt great to finally achieve it. I even took a screenshot to commemorate the moment, haha.
- Started by scouting the area beforehand.
- Tried a direct approach initially, but it failed miserably.
- Switched to a slower, more tactical method.
- Cleared the area slowly but surely.
- Confronted the remaining enemies in the final stronghold.
- Achieved “Final Liberation” after a long and grueling effort.
So yeah, that’s my story of how I finally conquered “Final Liberation” in “Gray Zone Warfare.” It was tough, but totally worth it in the end. If any of you are struggling with it, hopefully, my experience can give you some ideas. Good luck, and happy gaming!


