Okay, here’s my take on installing a Golf Pride Midsize Grip, written from a personal, hands-on perspective:
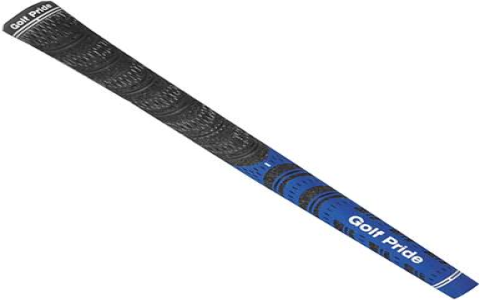
So, I finally decided to regrip my clubs. My old grips were slick and worn, making it tough to hold on, especially when my hands got a bit sweaty. I’d been putting it off, but after a particularly frustrating round where my 7-iron nearly flew further than the ball, I knew it was time. I went with the Golf Pride Tour Velvet midsize – I’ve got bigger hands, and the standard grips just felt too skinny.
Getting Started
First things first, I gathered all my supplies. This is what my setup looked like:
- New Golf Pride Midsize Grips (obviously!)
- Double-sided grip tape
- Grip solvent (mineral spirits work too)
- Utility knife with a hook blade (be super careful with this!)
- Vise (if you have one, it makes life a LOT easier)
- A rag or towel
I clamped my club into the vise, shaft pointing up. This gave it stability.
The Dirty Work (Removing the Old Grip)
Next step, removing old grips. The utility knife with hook blade saved me. Carefully using the hook, I carefully sliced down the length of the old grip. I peeled that old grip off like a banana. It was surprisingly satisfying, to be honest.
Tape Time
With the old grip gone, I cleaned off any remaining residue from the old tape. Then, I took my double-sided grip tape and wrapped it around the shaft. A little trick I learned: leave about half an inch of tape hanging over the butt end of the shaft. You’ll twist and tuck this in to cover the end of the shaft, it’s like a plug.
Getting Slippery
Now for the fun (and slightly messy) part. I poured a generous amount of grip solvent inside the new grip, covering the entire inside. Then, I quickly poured some over the tape on the shaft as well. You want both surfaces nice and lubricated.
The Slide
This is where you have to work fast. With both the grip interior and the tape wet, I aligned the grip with the shaft and, in one smooth motion, slid the grip all the way on. It took a bit of force, but the solvent made it surprisingly easy. Don’t hesitate here – get it on in one go!
Alignment and Finishing Touches
Once the grip was on, I had a few seconds to make adjustments. I lined up the grip’s alignment marks with the clubface, making sure it was perfectly straight. Then, I gave the grip a final wipe down with a rag to remove any excess solvent.

I let the grip dry overnight. You don’t want to use it right away. Let the solvent fully evaporate.
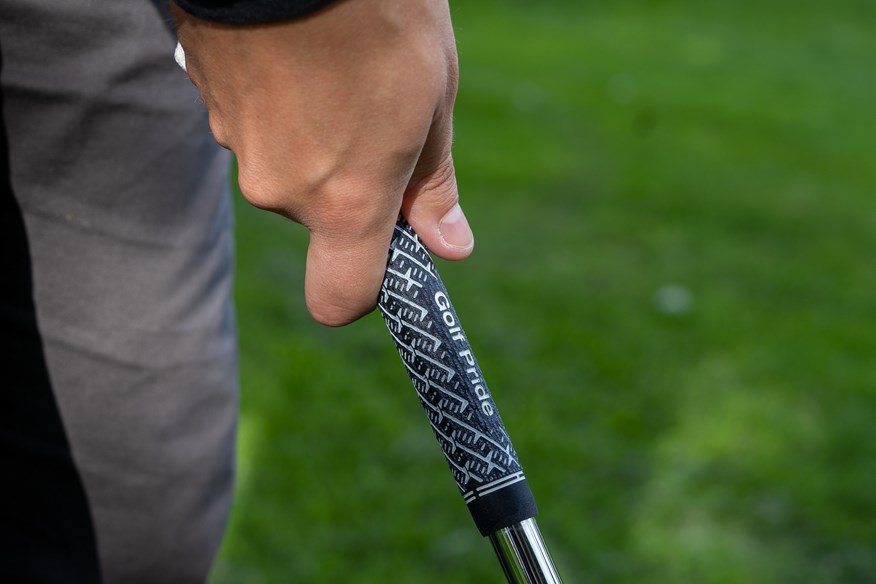
The next day, I took my newly-gripped clubs to the range. What a difference! The midsize grips felt so much better in my hands. I had a secure, comfortable hold, and I felt way more confident in my swing. I’m already planning to regrip the rest of my set. This was a totally worthwhile DIY project, and it saved me a bunch of money compared to taking them to a pro shop.


