Okay, so I’ve been seeing these custom Johnny Manziel helmets popping up all over the internet, and I gotta say, some of them look pretty slick. I decided I wanted to try my hand at making one, so here’s how it all went down.
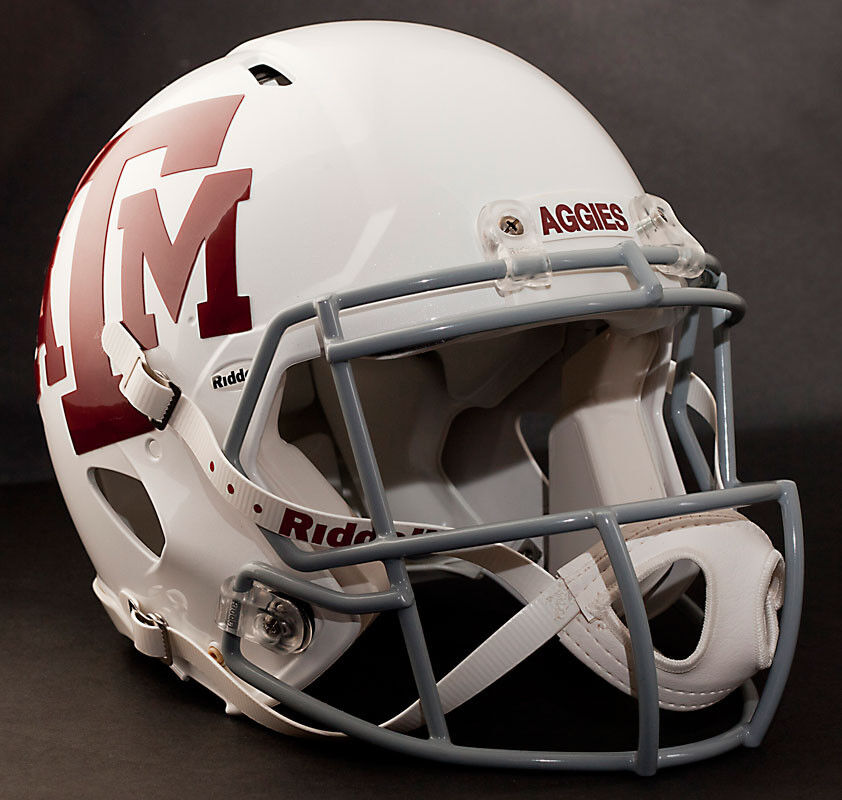
First, I needed a helmet. Obviously. I didn’t want to mess with a real, game-used one – way too expensive! So I hopped online and found a decent replica helmet. It wasn’t perfect, but it was good enough for this project, and cheap which matters.
Next up, the design. I spent a good chunk of time just scrolling through pictures, trying to figure out what I wanted. Did I want a classic A&M look? Something more flashy? Eventually, I settled on a sort of hybrid design – a bit of the old school maroon and white, but with a few modern twists.
Prepping the Helmet
Before I could start painting, I had to prep the helmet. This involved a lot of sanding. I used a few different grits of sandpaper, starting with a coarser one to get rid of any bumps or imperfections, and then moving to a finer grit to smooth everything out. Man, my arms were tired after that!
After sanding, I gave the helmet a good wipe down with some degreaser. This was to make sure there was no dust or residue left that would mess up the paint job. Gotta have a clean surface, you know?
Painting Time!
This was the fun part… and also the most nerve-wracking. I used spray paint, because I’m not exactly an artist with a brush. I started with a base coat of maroon, making sure to apply several thin coats rather than one thick one. This helps prevent drips and runs, I do know.
- I waited the wait time.
- I waited the wait time again.
- Another coat!
Once the base coat was completely dry (I waited like a full day, just to be safe), I started adding the details. I used some masking tape to create the stripes and other design elements. This was pretty tedious, but it was worth it to get those crisp lines. The I spray painted it again.
The Finishing Touches
After all the paint was dry, I added a clear coat to protect the finish and give it a nice shine. I used a glossy clear coat, because I wanted it to really pop. Then it was the waiting game again!
Finally, I added some decals that I had custom-made. These included the A&M logo and, of course, Manziel’s number 2. I carefully applied them, making sure to smooth out any air bubbles.
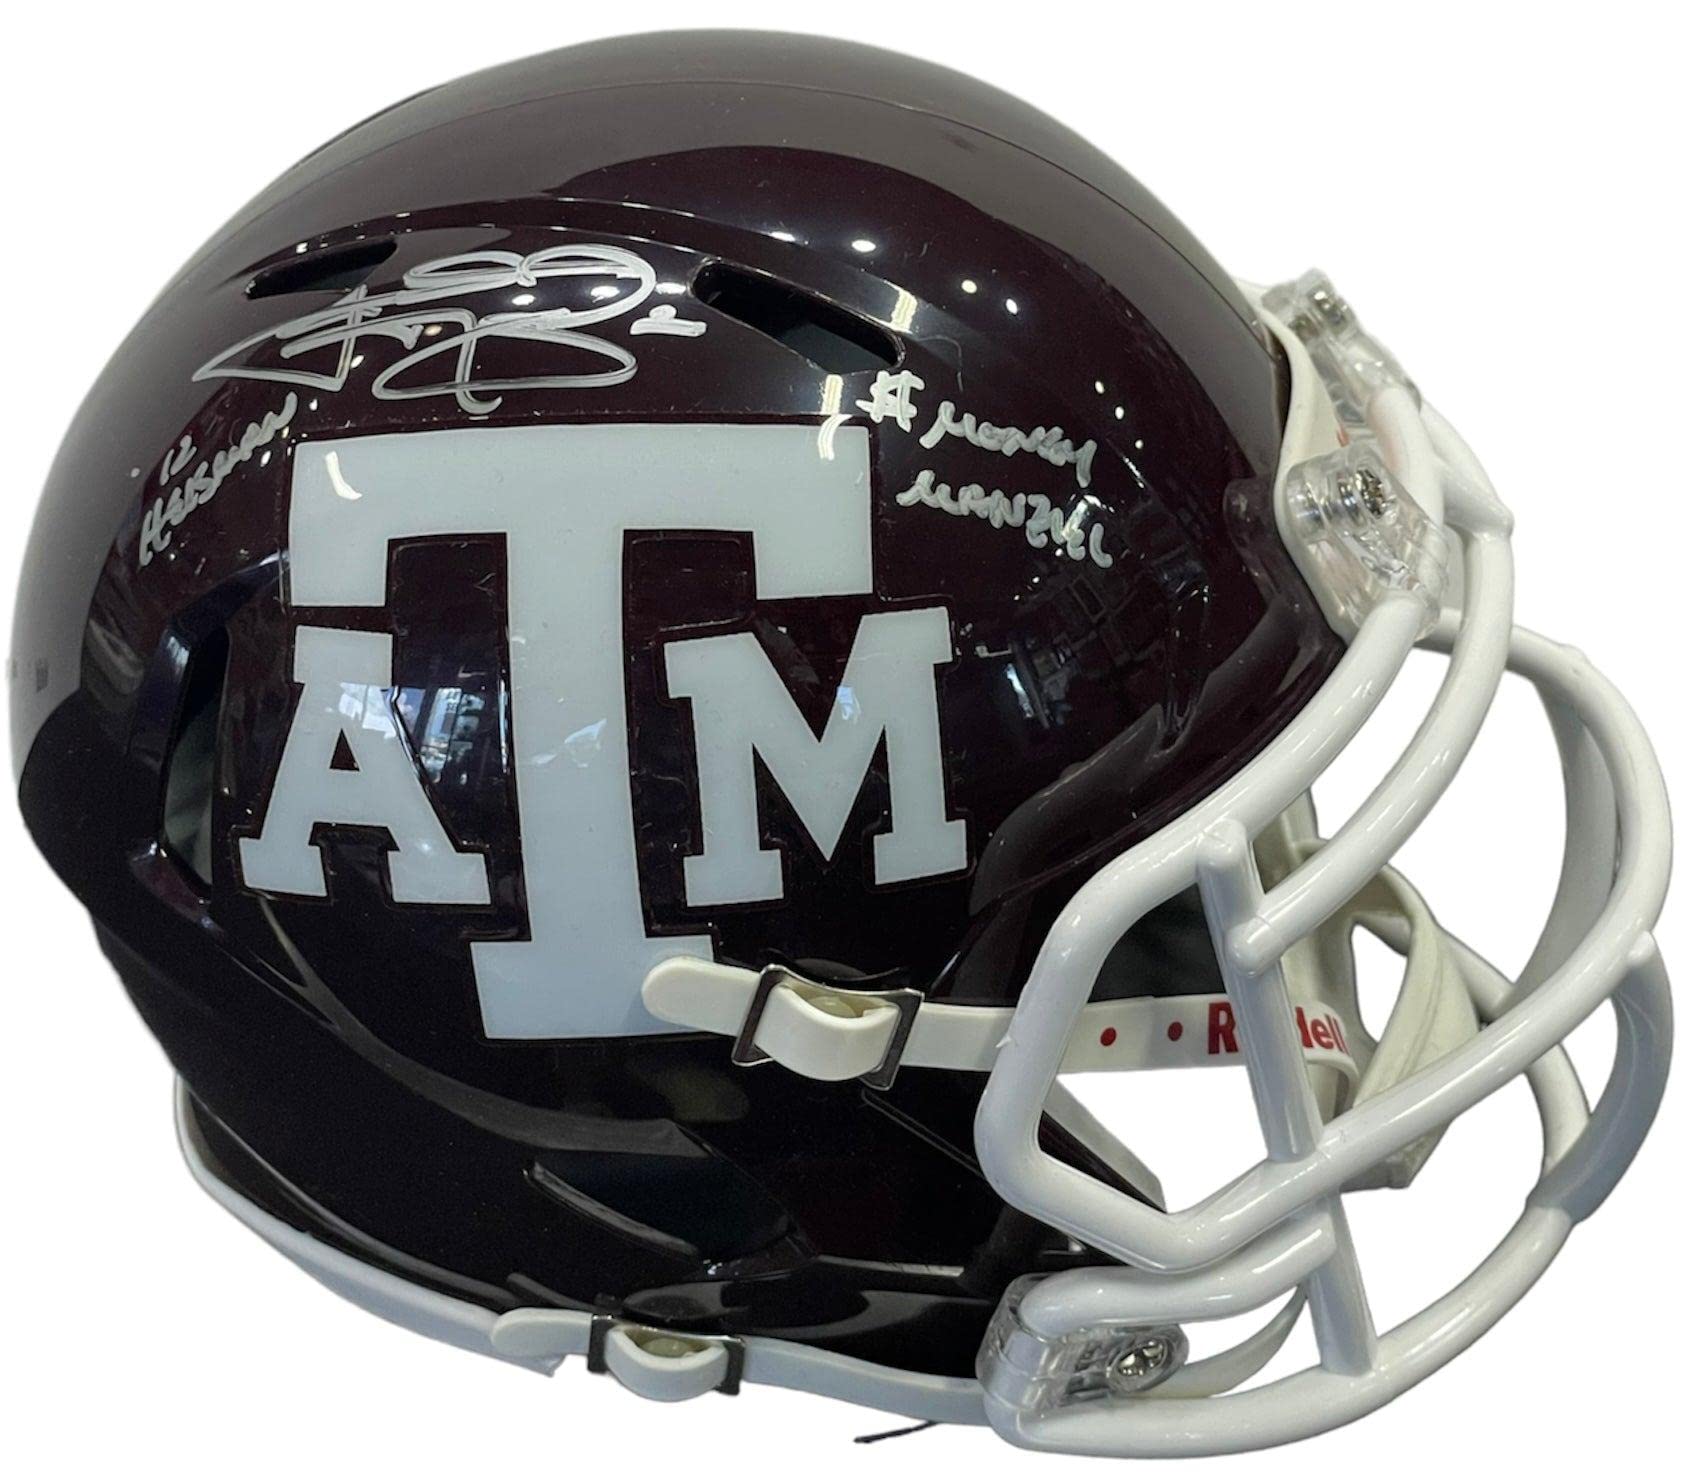
And that’s it! My very own custom Johnny Manziel helmet. It’s not perfect, but I’m pretty proud of how it turned out. It was a fun project, and it definitely gave me a new appreciation for all those custom helmet makers out there.
It’s now proudly displayed. Might try another one in the future!


