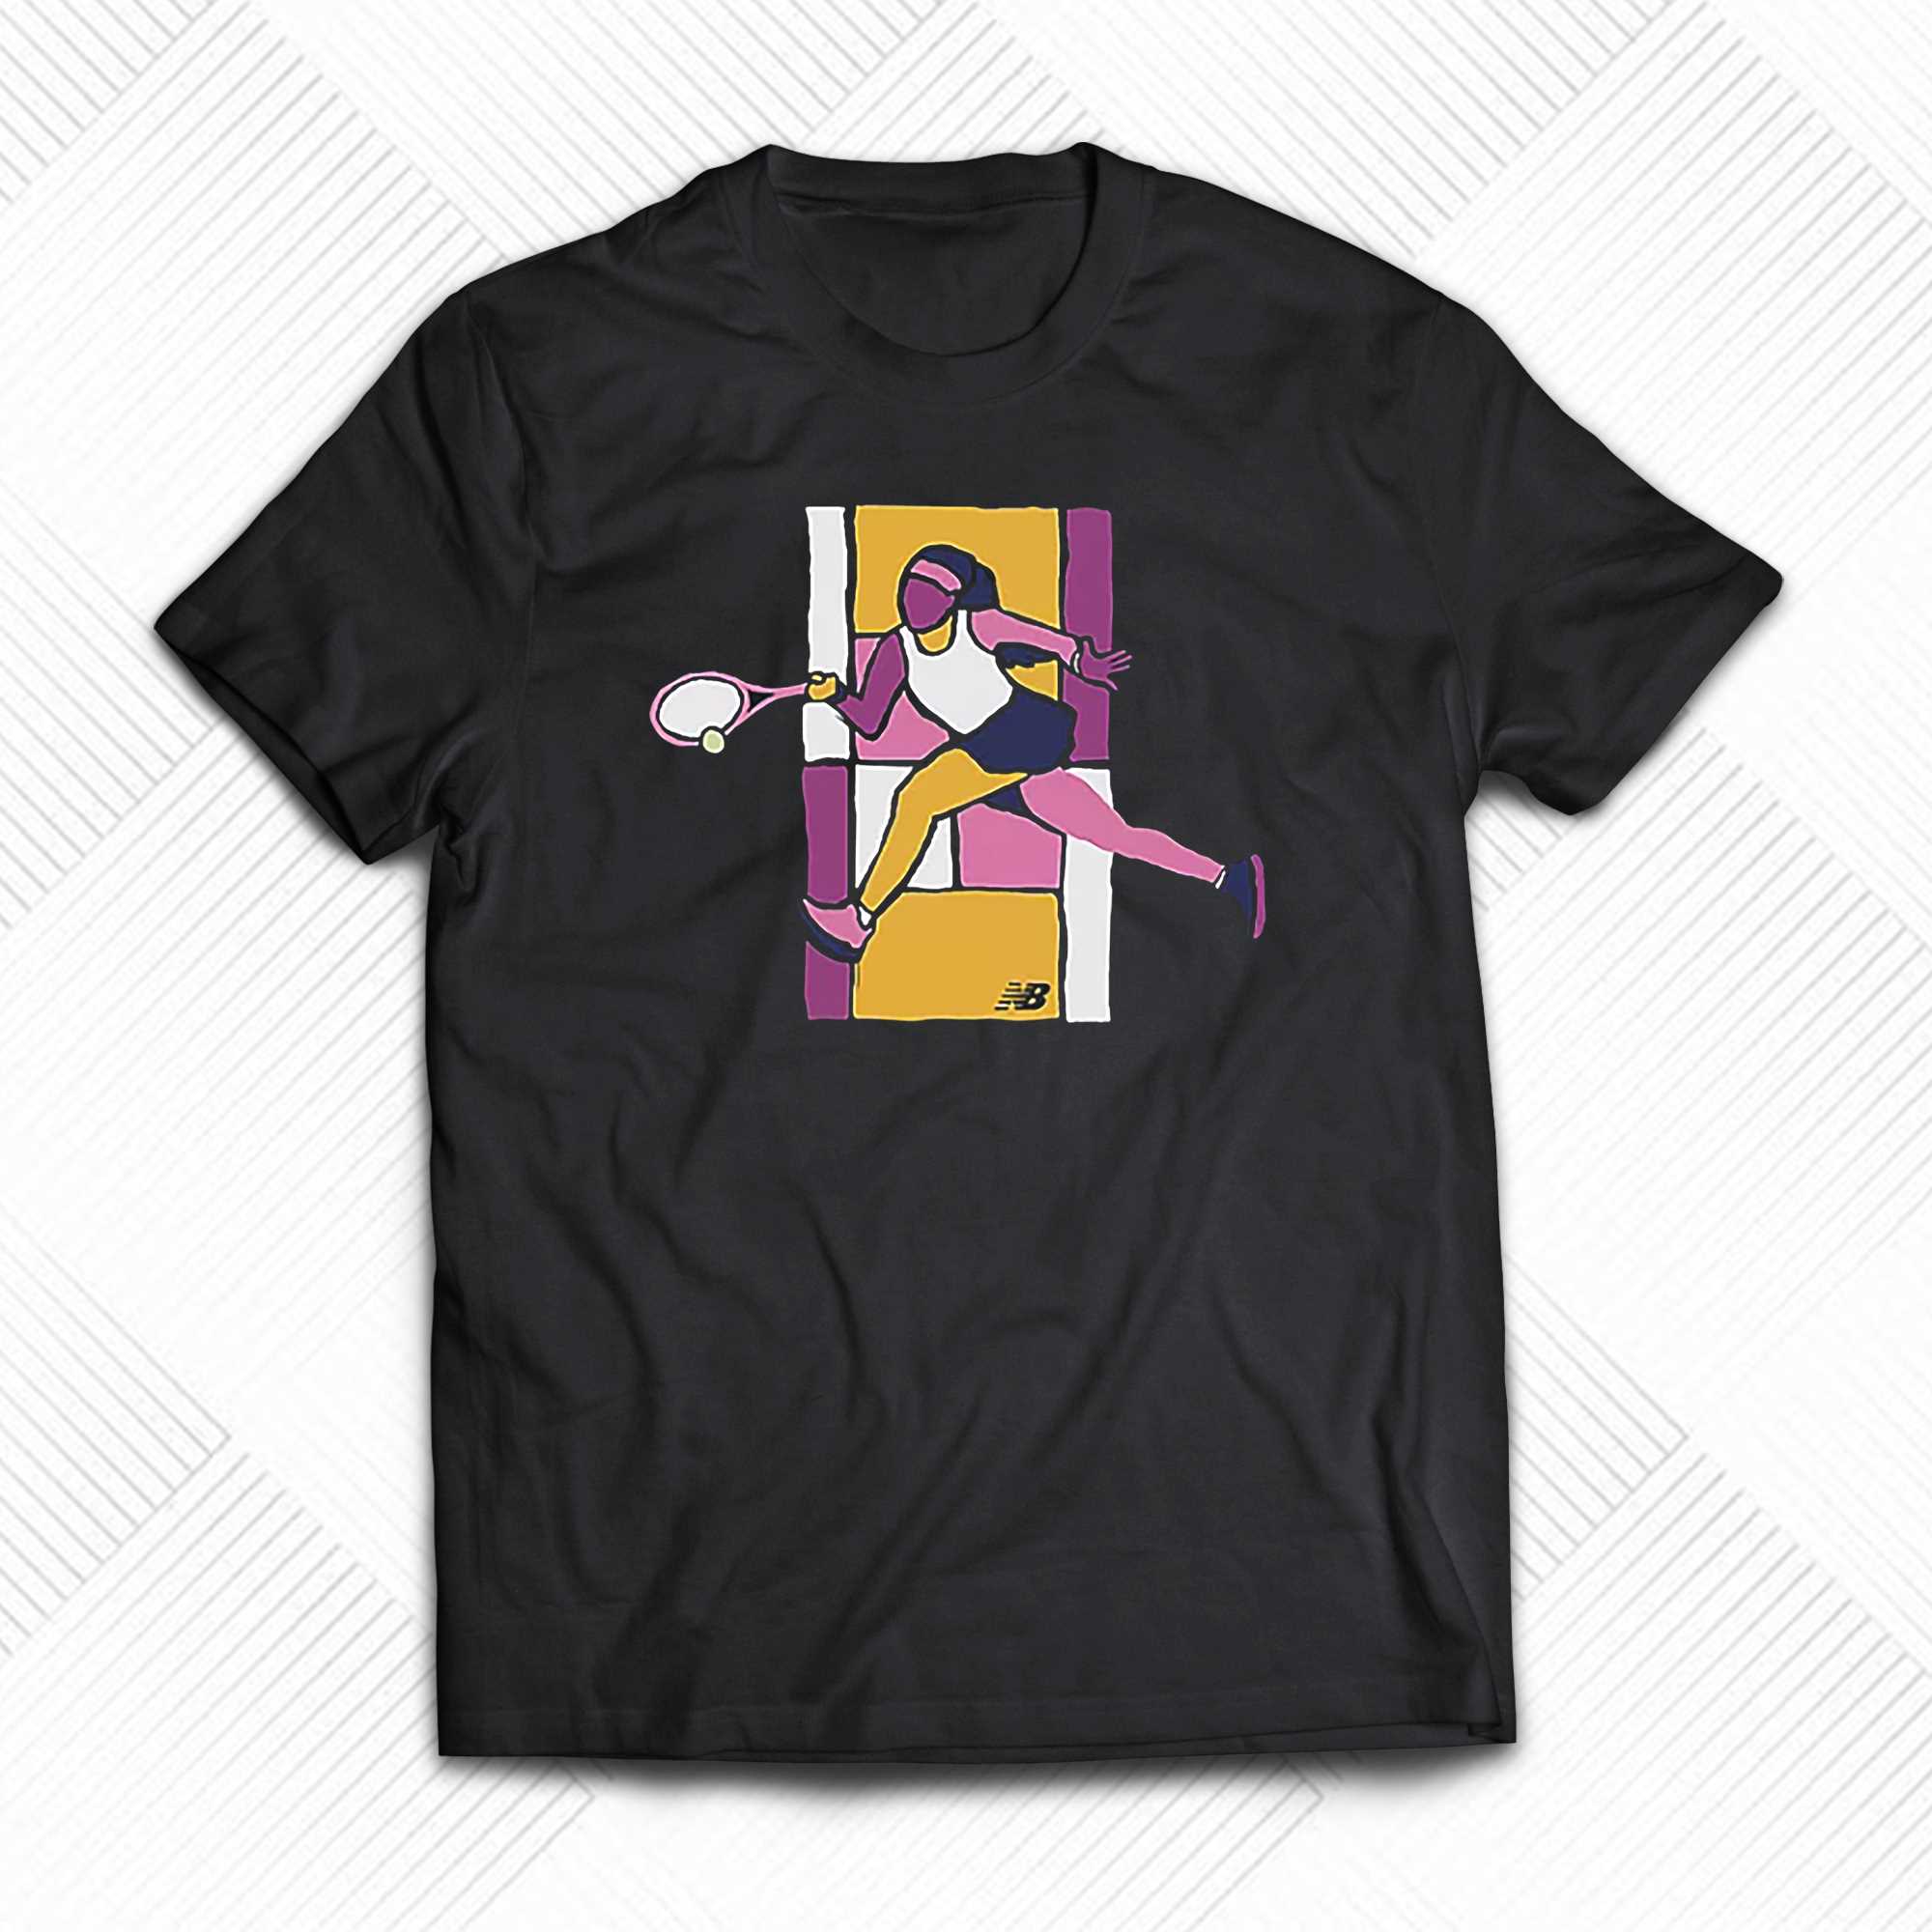
Okay, so I saw this “Coco Gauff Return Winner” T-shirt online, and I thought, “I gotta have that!” But, of course, I wanted to put my own spin on it. So, I decided to make my own. Here’s how it went down:
Brainstorming and Design
First, I spent some time just thinking about what I wanted. I knew I wanted the “Return Winner” phrase, obviously, but I also wanted to include an image, maybe of Coco herself or a tennis ball or something. I looked at a bunch of different designs online for inspiration, just to see what was out there.
Gathering Supplies
Next, I Needed to gather my materials, I already had the shirt.
- Plain white T-shirt (because that’s what I had, you can use whatever color you want)
- Freezer paper
- Craft knife
- Iron
- Fabric paint
- Paintbrushes
- Cardboard
Creating the Stencil
This was the trickiest part. I decided to use freezer paper to make a stencil. So I printed my design.
Then I placed a sheet of freezer paper over the image and then used craft knife cut the design.
Ironing and Painting
Next placed the freezer paper stencil onto my T-shirt, shiny side down, in the center of the shirt where I design to placed. Then ironed it on. The heat makes the freezer paper stick to the fabric, creating a seal.
I then placed a piece of cardboard inside the shirt, and used the paintbrushes paint the design. After the paint dried, I applied a second coat, just to make sure it was nice and solid, waiting for it to completely dry, before next step.
The Big Reveal
After the second coat of paint was completely dry, I carefully peeled off the freezer paper. And there it was! My very own custom Coco Gauff “Return Winner” T-shirt. It was a little rough around the edges, but I was pretty happy with how it turned out.
Final Touches and Wearing It Proudly
Once everything was dry, I checked for any spots I might have missed or any areas where the paint had bled. After all of it I proudly wear it.


