Getting Started with the Diamond Pistons
Alright, so I finally got my hands on these Diamond Racing pistons for the engine build I’ve been slowly chipping away at. Heard good things, decided to pull the trigger. The box showed up, felt pretty hefty. Always a good sign, right?
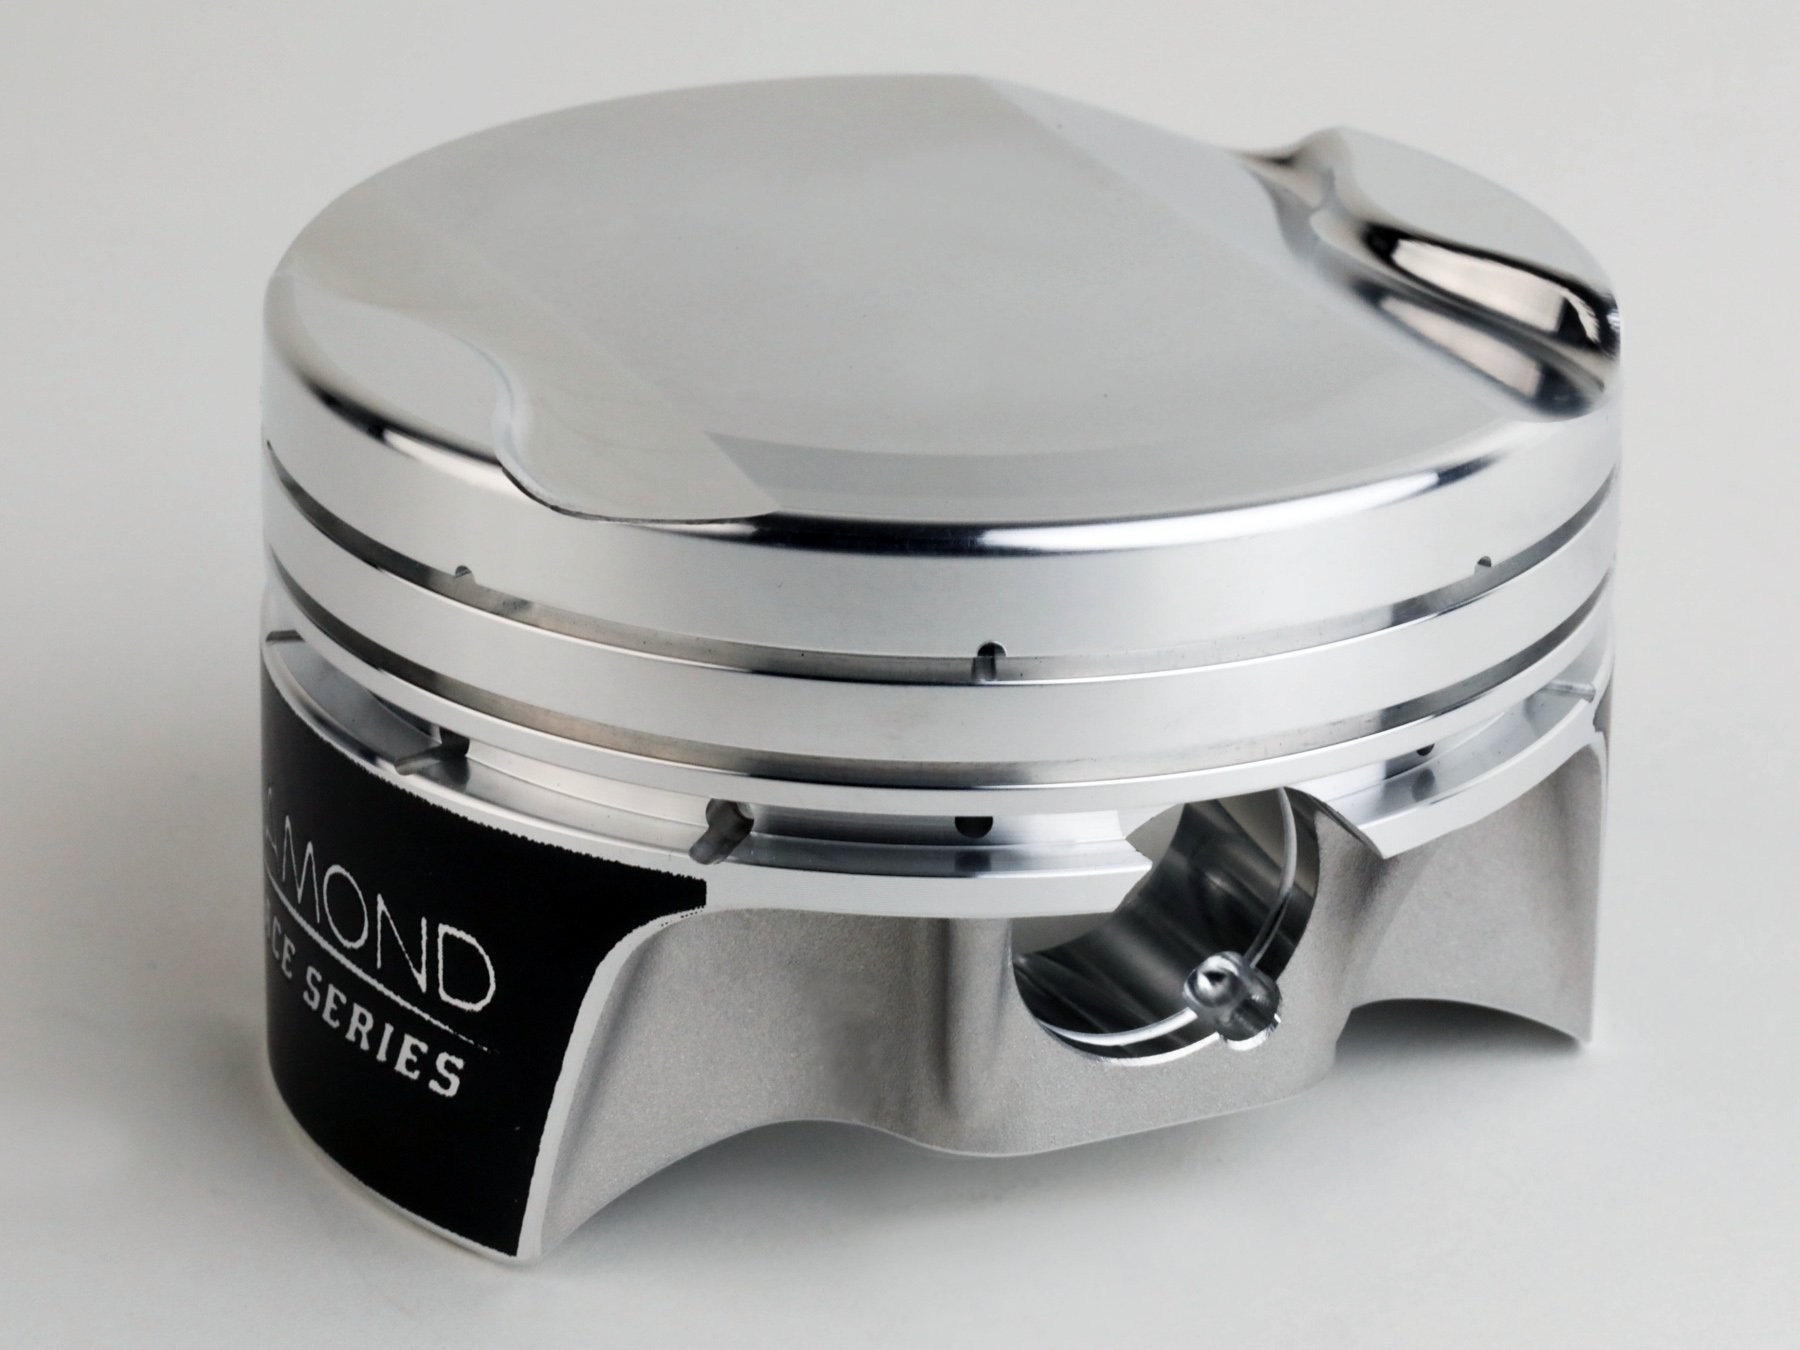
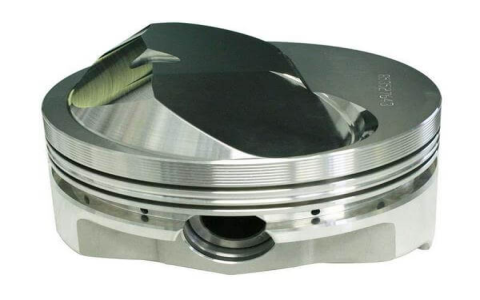
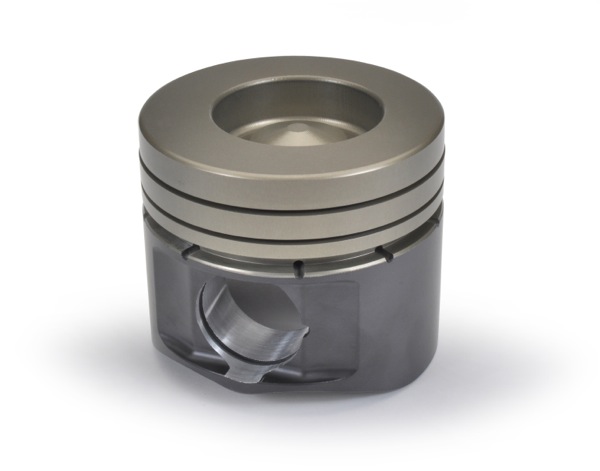
First thing I did was open ’em up. Laid everything out on the clean bench. You get the pistons, pins, and the little locks. They looked pretty solid, nice finish on them. Checked the part number against my order, all matched up. Good start.
Prepping the Block and Pistons
Before jamming these things in, had to get the block ready. Spent a good while cleaning the deck surface again, made sure the cylinder bores were spotless. Wiped them down with oil, then wiped again. You can’t have ’em too clean.
Then, back to the pistons. I double-checked the little arrow or notch that shows which way faces the front of the engine. Important step, don’t wanna put ’em in backward. I also took some time to check the ring end gaps. Had to file a few of them just a tiny bit to get the clearance right according to the sheet that came with the pistons. Tedious work, man. You gotta go slow, file a little, check, file a little, check. Took longer than I thought.
- Cleaned block bores thoroughly.
- Checked piston orientation marks.
- Measured and filed piston rings for correct end gap.
- Cleaned the pistons and rings one last time.
Putting It All Together
Okay, ring time. Carefully put the oil control rings on first, then the second compression ring, then the top one. Used my cheapo ring expander tool for the compression rings, didn’t want to scratch the pistons or bend the rings. Made sure the gaps were staggered around the piston, like the instructions showed. You don’t want the gaps lining up.
Next up, installing the wrist pins. Lubed up the pin and the inside of the piston, slid the pin through the connecting rod and piston. Then came the fiddly part: the damn pin locks. Little wire clips usually. Always a pain to get those seated properly without launching one across the garage. Took a few tries on the first one, got the hang of it after that. Used a small screwdriver, carefully pushed them into their grooves.
Dropping Them In
Showtime. Lubed up the piston skirts real good with assembly lube. Put plenty of oil on the rings too, and wiped the cylinder bores down with fresh oil one more time. Slipped my ring compressor tool over the piston and rings, tightened it down gently until the rings were squeezed into their grooves.
Set the piston and rod assembly into the bore, making sure that front mark was facing the right way. Double-checked that. Tapped the piston down gently with the wooden handle of a hammer. Nice and slow. You gotta guide the connecting rod so it doesn’t smack the crankshaft on the way down. Once it was down far enough, I bolted the rod cap on. Torqued the rod bolts down in stages, like the manual says. Felt good to see the first one in.
Repeated that whole process for the rest of the cylinders. Clean, lube, compress rings, tap it in, bolt it down. It gets faster as you go. By the last one, I was moving pretty quick.
Feels Good, Man
So yeah, that’s the story of getting the Diamond pistons in. Took a good chunk of an afternoon, mostly fussing with the rings and pin locks. But they’re in there now. Engine’s starting to look like an engine again. Feels like solid progress. Now just gotta get the rest of the bottom end buttoned up.


