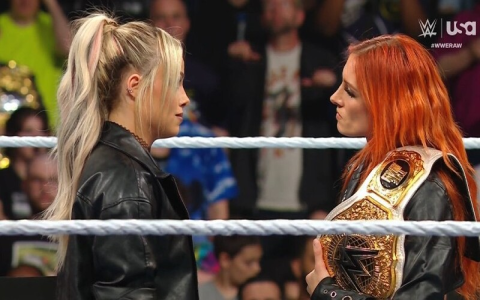
So, I got this idea stuck in my head a while back. You know how you see something and think, “Yeah, I could probably make that”? Well, that happened to me with Becky Lynch’s ring gear. Been watching wrestling for ages, and her whole “The Man” vibe, especially the gear she wore during that run, really stood out. It just looked tough, you know? Decided I wanted to try and put together something similar myself.
Getting Started
First thing I did was just sit down and really look at it. Pulled up a bunch of pictures – well, didn’t pull up like on a computer right then, more like recalled from matches I watched. You gotta get the details right, or what’s the point? I focused on that classic black look she had. You know, the one with “The Man” usually plastered somewhere obvious.
I broke it down into parts:
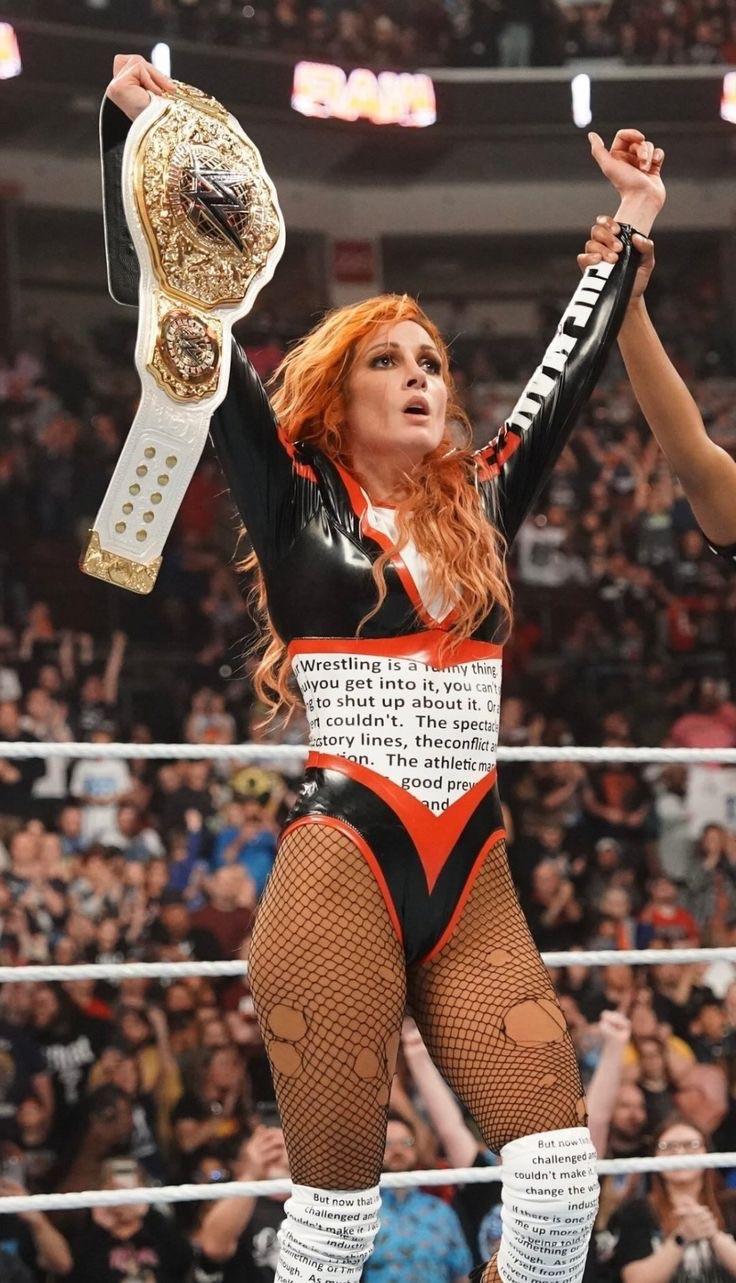
- The top – usually some kind of black vest or sturdy-looking top.
- The bottoms – sometimes shorts, sometimes longer pants, again usually black.
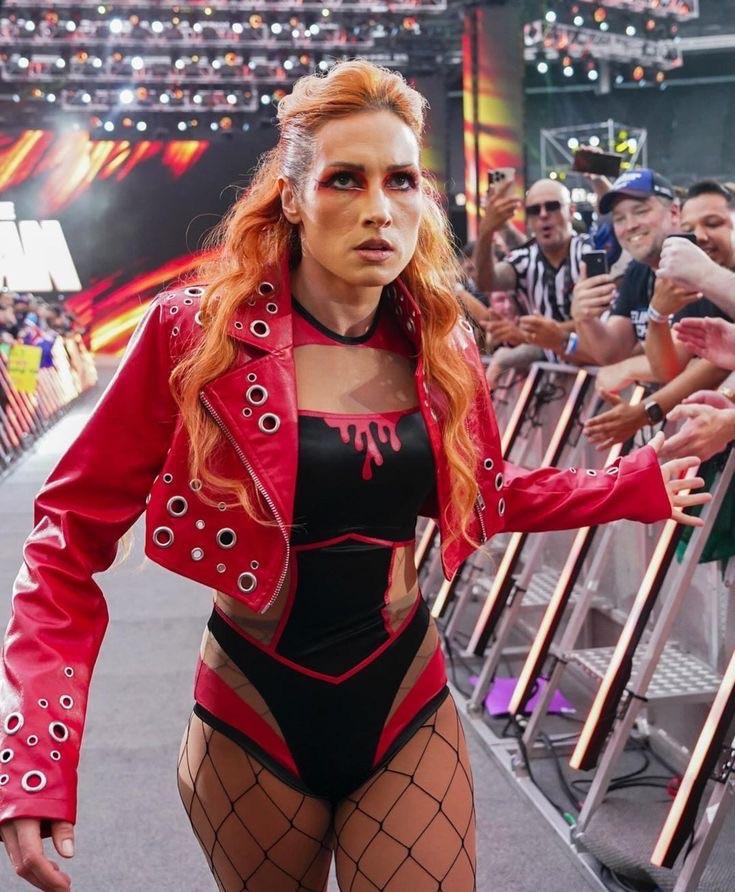
- The jacket – she often had this killer leather or faux leather jacket, sometimes with studs or writing.
- Boots – standard black wrestling boots, but maybe with some flair.
Finding the right stuff was the next step. I wasn’t gonna craft leather from scratch, let’s be real. My goal was to find base items I could mess with. Hit up some thrift stores, looked through my own closet, even checked out some cheap online places (carefully, mind you) for plain black items that had the right kind of shape.
Putting It Together
Okay, the actual making part. This is where it got fun, and a bit frustrating sometimes.
The Top: Found a decent black tank top that felt sturdy enough. The main thing was getting “The Man” on there. Tried fabric paint first on a scrap piece… disaster. Looked like a kid did it. Then I thought about iron-on letters. Found some plain white ones, measured everything out like ten times so it wasn’t crooked, and carefully ironed them on. Much better. Looked sharp.
The Bottoms: Went with some plain black workout shorts that had a similar cut. Not much needed here, honestly. Just made sure they fit right and matched the top’s vibe. Simple enough.
The Jacket: This was the big one. I managed to find an old faux leather jacket that had seen better days but had the right basic structure. This took the most work. I wanted that worn, tough look. Roughed it up a bit strategically. Then, studs. Oh man, the studs. Bought a pack and a cheap stud setter tool. Spent a whole evening punching studs into the shoulders and lapels. My fingers were sore for days, seriously. But it started looking really cool, really captured that energy.
Boots: Didn’t go crazy here. Had an old pair of black boots. Cleaned them up, made sure they looked the part. Close enough for my project.
Wasn’t All Smooth Sailing
Definitely hit some snags. Getting the spacing right on the iron-on letters was nerve-wracking. Nearly put one on backwards. And dealing with that faux leather jacket, trying to make the studs look intentional and not just randomly slapped on, took way more planning than I expected. Sourcing decent-looking studs that weren’t ridiculously expensive also took some searching around.
How It Turned Out
So after all that fiddling, painting (well, ironing), and studding, I put it all together. Stood in front of the mirror. And you know what? It wasn’t half bad! It really gave off that Becky Lynch “The Man” feel. Felt pretty cool, like I’d actually accomplished something tangible. It’s not screen-accurate down to the last stitch, obviously, I’m not a professional costume maker. But for a project I put together myself, piece by piece, I was pretty darn happy with it. Made me appreciate the detail that goes into the real gear even more. It’s just sitting in my closet now, but it was a fun process to go through, figuring it all out step-by-step.


