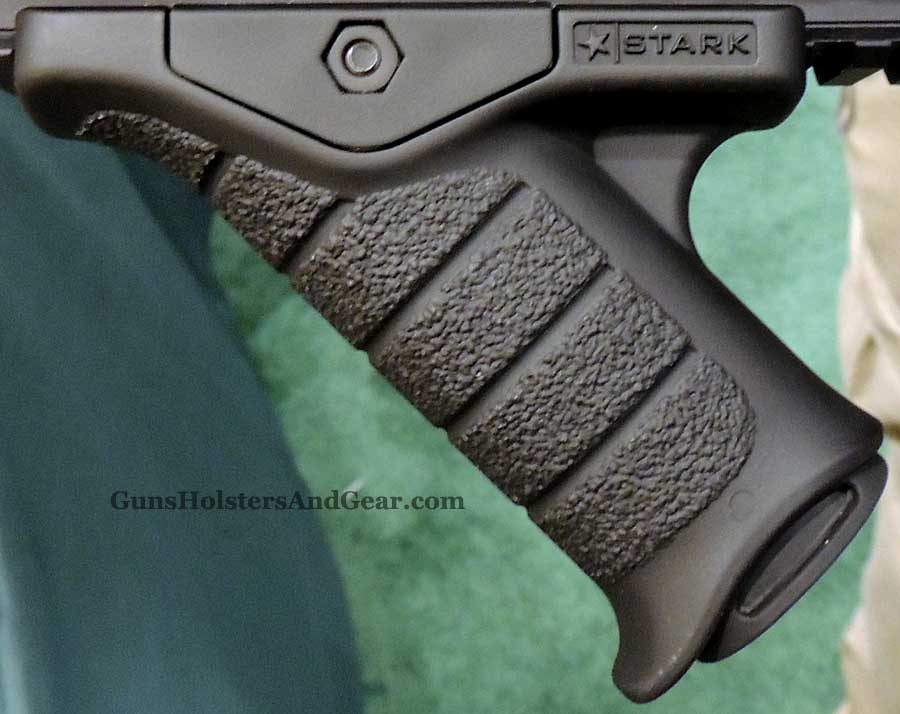
Okay, so today I’m gonna spill the beans on my little side project: the SE-5 grip. You know, that cool looking accessory you see some photographers rocking? Well, I decided to make my own. Why buy when you can DIY, right?

First things first: research! I spent a solid evening just googling “SE-5 grip DIY” and “Leica grip alternatives.” I checked out forums, watched some YouTube videos (mostly shaky, low-res ones), and pieced together a general idea of what I needed. The key was figuring out the mounting mechanism. That’s where most of the complexity seemed to be.
Next up: materials. This is where things got interesting. I didn’t want to spend a fortune, so I scoured my garage for anything that might work. I found:
- A chunk of scrap aluminum (leftover from a previous project).
- Some bolts and screws of varying sizes (score!).
- A piece of leather from an old belt (for the grip itself).
- Some epoxy resin (because why not?).
The build: Alright, this is where the fun (and frustration) began.
- Shaping the aluminum: I used a hacksaw to cut the aluminum chunk into a rough L-shape. Then, I spent what felt like hours filing and sanding it down to get the basic form of the grip. It wasn’t pretty, but it was functional.
- Drilling and tapping: This was probably the most crucial part. I needed to drill holes for the mounting screw and for attaching the leather grip. I used a tap and die set to create threads in the aluminum. Let me tell you, tapping aluminum is a pain. Patience is key!
- Creating the grip: I cut the leather piece to size and wrapped it around the aluminum frame. I used contact cement to hold it in place initially, and then added some stitching for extra security. It’s definitely not professional-grade leatherwork, but it looks decent enough.
- Assembly and testing: I bolted the grip onto my camera (a trusty old Sony A7). It felt a little wobbly at first, so I tightened everything down and added some Loctite to the screws. That seemed to do the trick.
The Result: Honestly? It’s not perfect. It’s a little rough around the edges, and the leather isn’t quite as plush as I’d like. But hey, it works! It gives me a much better grip on the camera, and it looks pretty cool (in my opinion). Plus, I saved a bunch of money by making it myself.
Lessons Learned:
- Aluminum is a pain to work with (duh!).
- Measuring twice and cutting once is ALWAYS a good idea.
- Patience is essential when DIYing anything.
Overall, this was a fun and rewarding project. Would I do it again? Maybe. But next time, I might invest in some better tools and materials. And maybe watch a few more YouTube videos before I start hacking away at the aluminum.
Final Thoughts: If you’re thinking about making your own SE-5 grip (or any camera accessory), go for it! It’s a great way to learn new skills and save some money. Just be prepared for some trial and error. And don’t be afraid to get your hands dirty!


