
Alright, so I finally got some time to sit down and really dig into the controls for College Football 25, specifically focusing on running the option. You know how much I love a good option attack, it just feels like classic college ball.
Getting Started with the Option
So, first thing I did was jump into a practice mode. Picked a team that runs the option a lot, figured that was the best way to get a feel for it. My first few plays were… well, let’s just say they weren’t pretty. Either I held onto the ball too long and got blasted, or I’d panic-pitch it straight into a defender or way behind my running back. Fumbles galore. Definitely wasn’t smooth sailing right out of the gate.
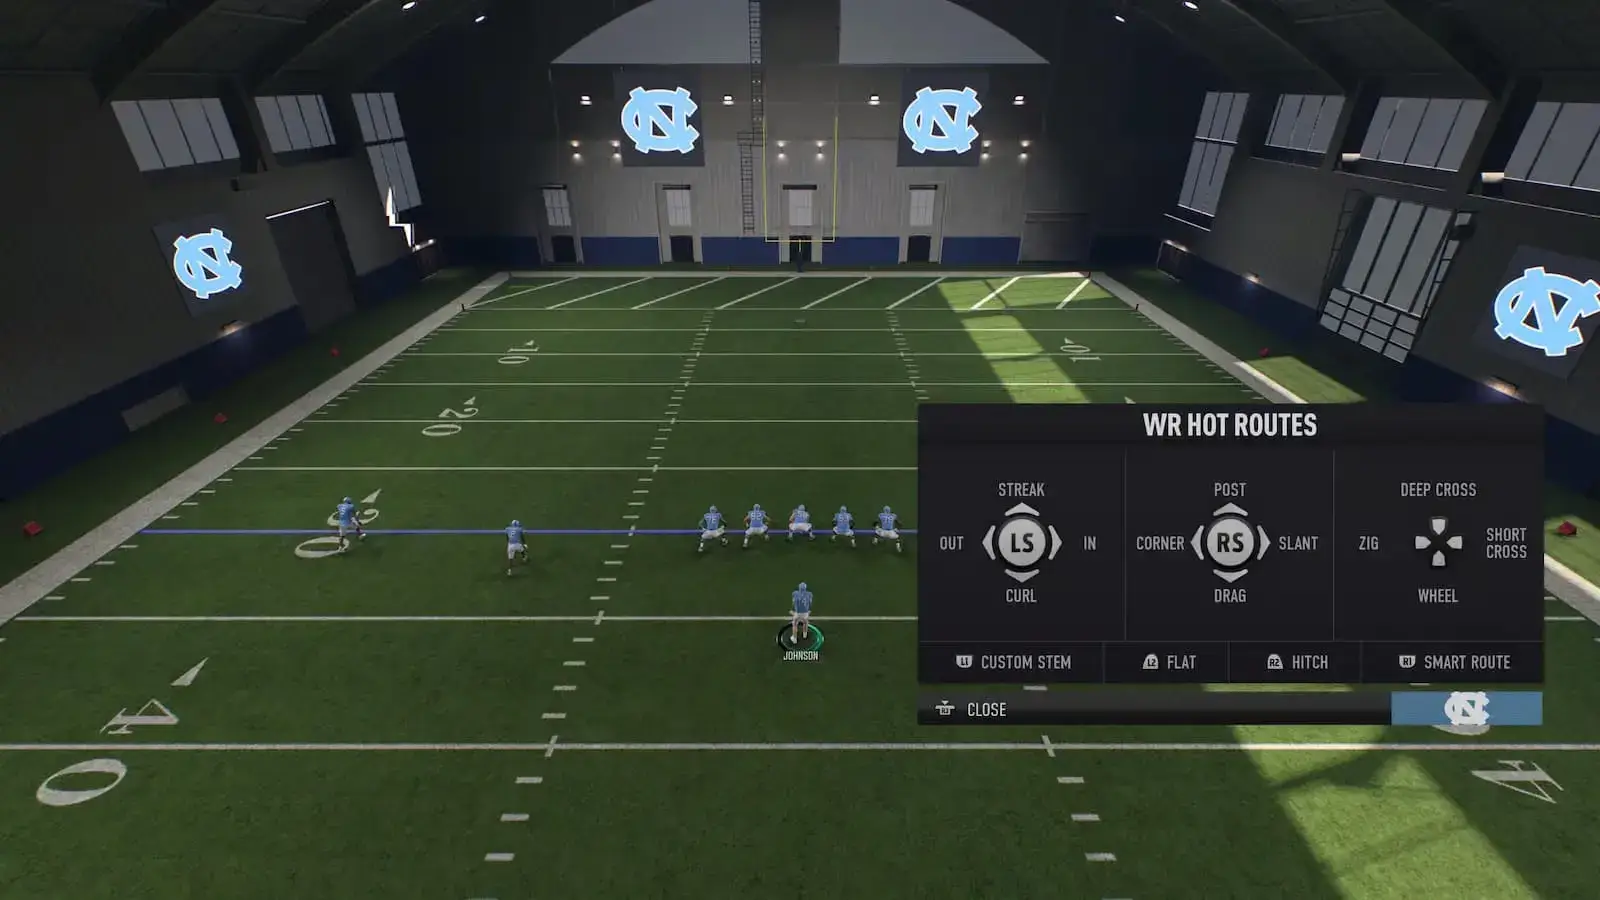
Figuring Out the Buttons
I realized I needed to actually understand what buttons did what, not just guess. So, I started running basic options, like the speed option, over and over.
- The Snap: Okay, simple enough, hike the ball.
- The Read: This is key. Right after the snap, you gotta identify the read defender. Usually, it’s that defensive end or sometimes an outside linebacker. The game usually puts a little marker on him, which helps. My eyes immediately went to that guy.
- The Decision – Keep or Pitch: Now, this is where the timing comes in. I watched that read defender. If he crashed hard inside towards where the running back would be (or the dive path on a triple option), I just held onto the ball. Didn’t press anything extra, just kept running with the QB using the left stick. Seemed like the default was to keep it unless you pitched.
- The Pitch Action: If that read defender stayed wide or came straight at me (the QB), that was my cue to pitch it. I found that tapping the left bumper (LB on Xbox, L1 on PlayStation, I think) was the button for the pitch. You gotta be quick but not too quick. I practiced the timing a lot. Pitch too early, and it’s awkward; pitch too late, and the defender might hit you, causing a fumble.
Practicing the Triple Option
Then I moved onto the triple option. It adds another layer right at the start. You’ve got that initial read for the dive. It felt like a quick decision based on the defensive tackle or whoever was inside.
Okay, here’s how that felt:
- Snap the ball.
- Read the first defender (usually interior). If he sits there or goes outside, I’d hit a button (felt like the ‘A’ or ‘X’ button usually used for handoffs) to give it to the diving back.
- If that first defender crashed inside to take the dive, I held onto it myself.
- THEN, it becomes like the speed option. Now I’m running outside, reading that second defender (the end or OLB).
- If he attacks me, tap that pitch button (LB/L1 again) to get it to the trailing back. If he stays wide, I just keep it and run.
It sounds complicated maybe, but running it a few times in practice started making it feel more rhythmic.
Getting the Feel
After maybe 20-30 minutes just focusing on the option plays in practice, it really started to click. I wasn’t thinking about the buttons so much anymore. I was just reacting to the defenders. Seeing that end crash down and taking it myself for a nice gain, or watching him hesitate and pitching it cleanly for a big play down the sideline – yeah, that felt good. Really satisfying when you execute it right.
My main takeaway was practice the timing. Don’t decide before the snap what you’re going to do. You absolutely have to read that defender and react. The controls themselves aren’t super complex once you know which button does what, but the timing and the read are everything. It feels like something that will be really rewarding once mastered in real games.
So yeah, that was my little session figuring out the option controls. Took a bit of trial and error, lots of ugly plays at first, but feeling much better about it now. Can’t wait to try and build an offense around it.


