Okay, so I saw this “Andrew Tate mask” thing trending, and I figured, why not? I’m always up for a silly project, so I decided to make one myself. Here’s how it went down.
Gathering Supplies
First, I needed to get my hands on some stuff. Here’s what I grabbed:
- Cardboard: I just used an old box I had lying around.
- Scissors: For cutting, duh.
- Pencil: To sketch the outline.
- Printer & Paper I need print Andrew Tate’s face.
- Glue:I use glue stick.
- String or elastic: So I can wear it. I found some old shoelaces.
- CrayonsJust make it looks good.
Printing and Sketching
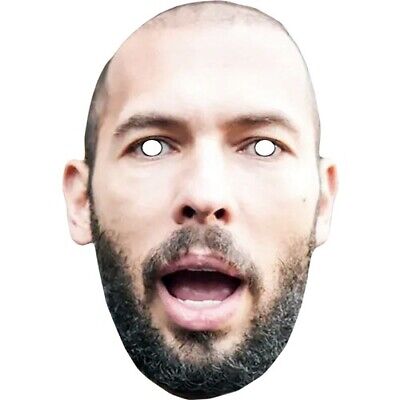
Next up, Find a good picture of Andrew Tate. I use google, Just print it out,I made sure it was big enough to cover my * Carefully cut around the face.
Then, lay picture on the cardboard. Use the pencil to trace the outline of the head and those oh-so-important facial features onto the cardboard. I didn’t go crazy with detail, just the basic shape of his head, eyes, nose, and mouth.
Cutting and Gluing
Then came the cutting. I carefully cut out the cardboard shape I just sketched. I also cut out eye holes.I test the picture and cardboard, make sure everyting is good.
After that,I use glue stick to paste the picture of Andrew Tate’s onto the * everything carefully,and hold on it for a while.
Adding the Final Touches
I wanted to make it wearable, so I poked small holes on either side of the mask. Then, I threaded the shoelaces through the holes and tied them off. I made sure they were long enough to tie around my head comfortably.
The Result
And, boom! Mask complete! It’s a little rough around the edges, I use Crayon make it looks better. I can say it look likes Andrew Tate.
This was a fun little project. It didn’t take long, and it was a good way to kill some time. If you’re bored, give it a shot! You can customize it, use better materials and create new mask.


