Okay, so I’ve been seeing these adorable crochet amigurumi figures all over the internet, and I finally decided to give it a try. I’m a HUGE Power Rangers fan, like, since I was a kid, so naturally, that’s what I wanted to make. My very own crochet Power Ranger!
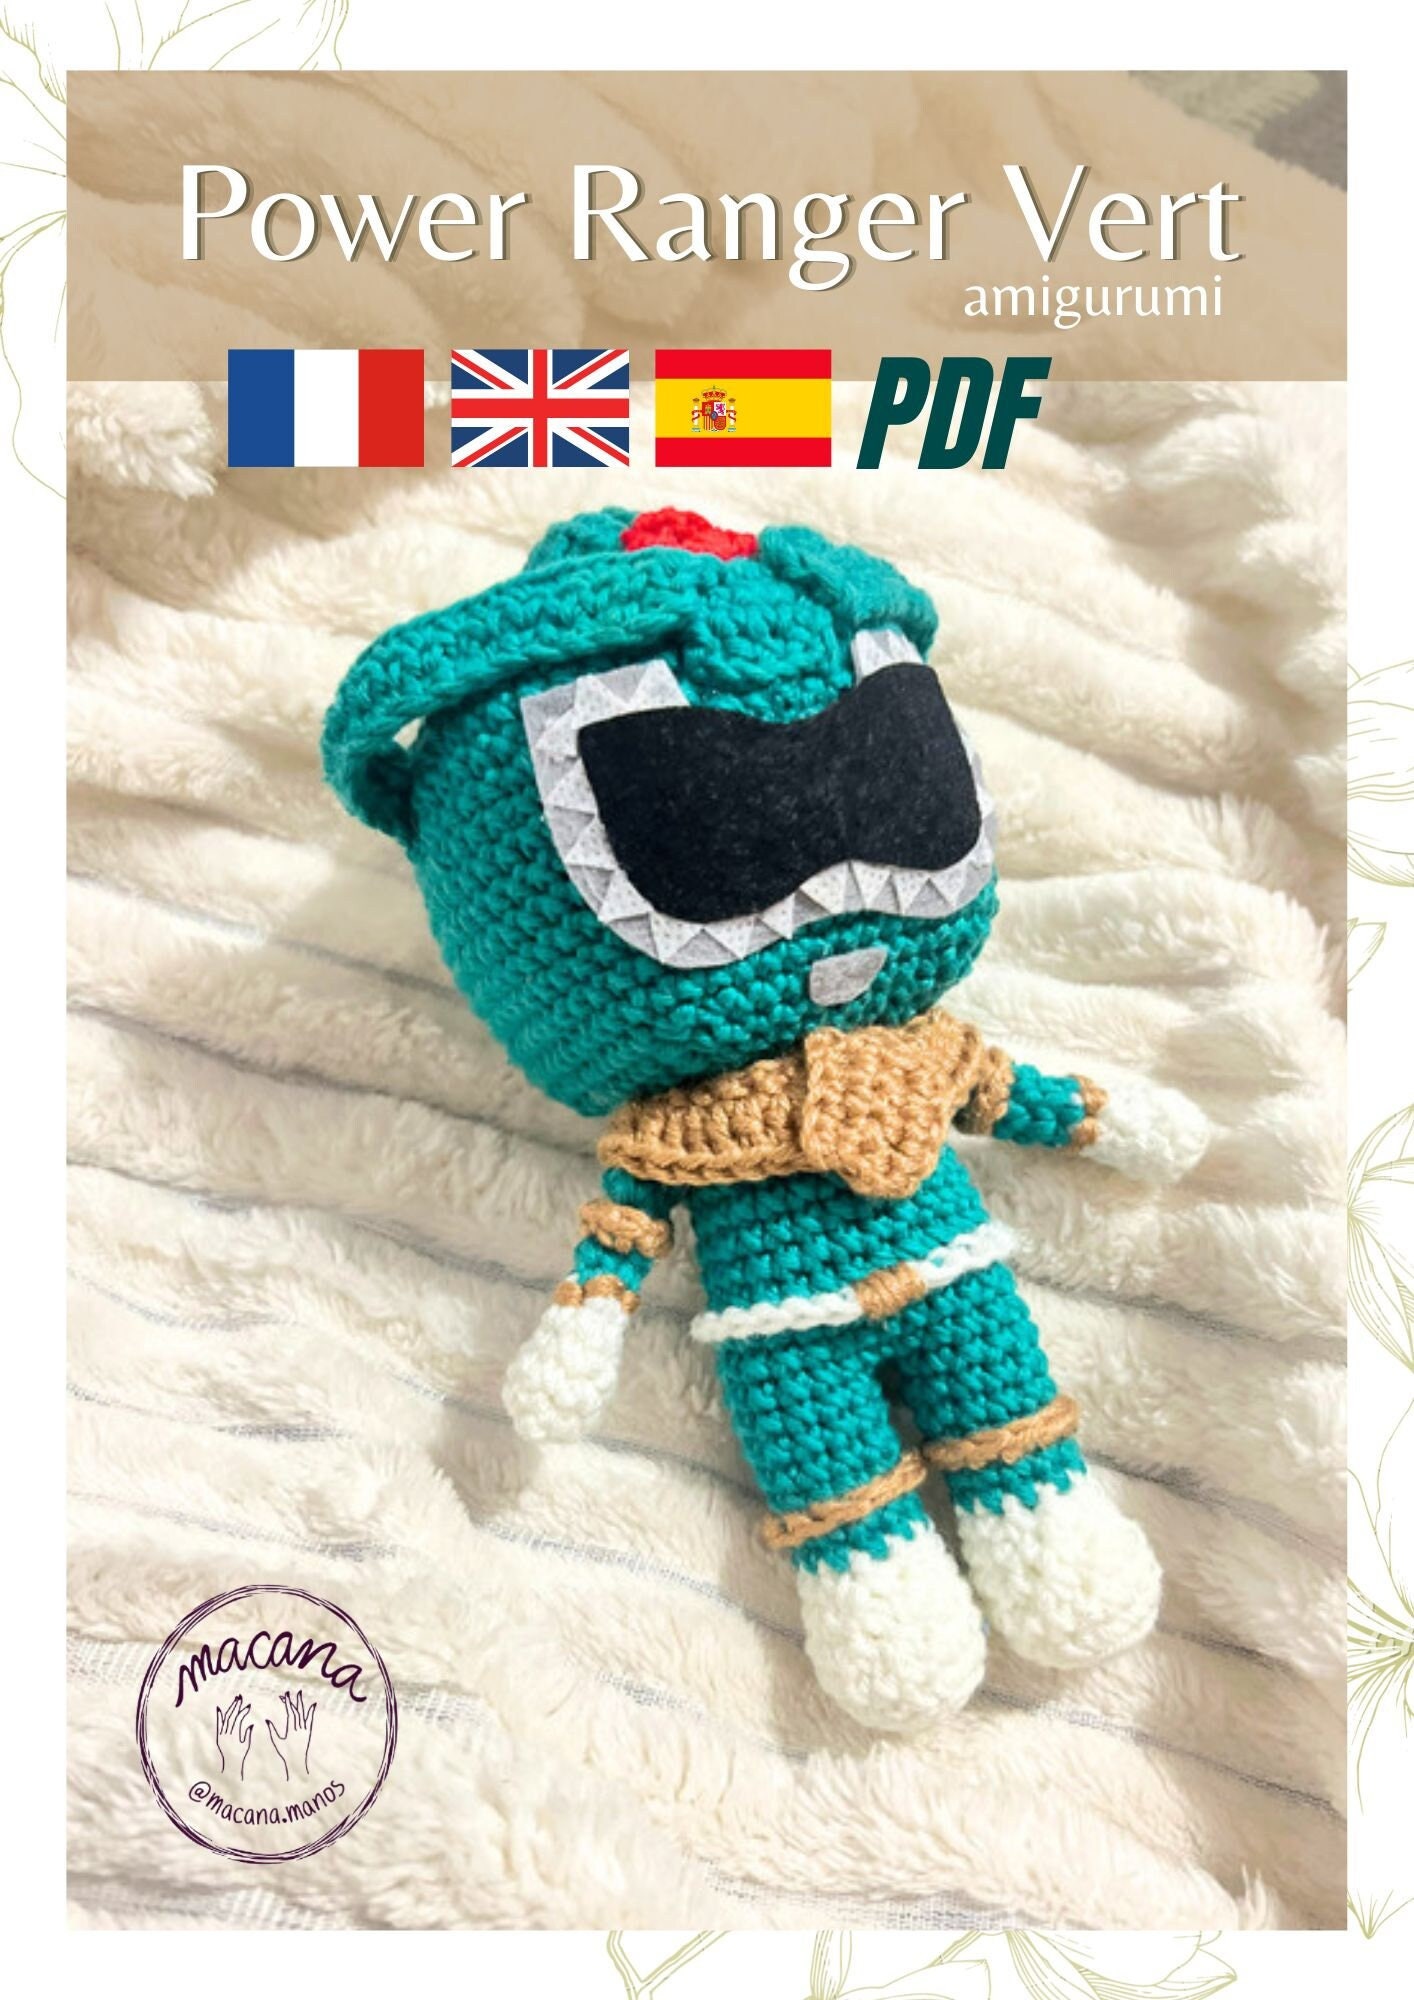
First, I searched for some patterns. I figured there’s gotta be something out there, right? And yep, found a few, some free, some paid. I ended up going with a free one because, well, I’m still a beginner and didn’t want to mess up an expensive pattern.
Then came the yarn shopping! This was actually pretty fun. I went to my local craft store and grabbed a bunch of different colored yarns. Red, of course, for the Red Ranger (my favorite!), plus black, white, and a bit of yellow for the details. I also picked up a crochet hook – a 3.5mm one, as the pattern suggested. And stuffing! Can’t forget the stuffing to make him all plump and huggable.
The Actual Crocheting
Alright, this is where things got… interesting. I’ve dabbled in crochet before, like, making simple scarves and stuff, but this was a whole different level. The pattern started with the head, using a “magic ring” technique. I watched a YouTube video like five times to figure that out! It’s basically making a loop of yarn to start crocheting in a circle. Sounds simple, but my fingers felt like clumsy sausages.
After finally getting the hang of the magic ring, I started following the pattern, row by row. It involved a lot of single crochet stitches, increasing, and decreasing. I had to keep track of my stitches carefully, using a stitch marker (which is just a little piece of contrasting yarn, really). I definitely messed up a few times and had to “frog” it – that’s what crocheters call ripping out your stitches. Ribbit, ribbit!
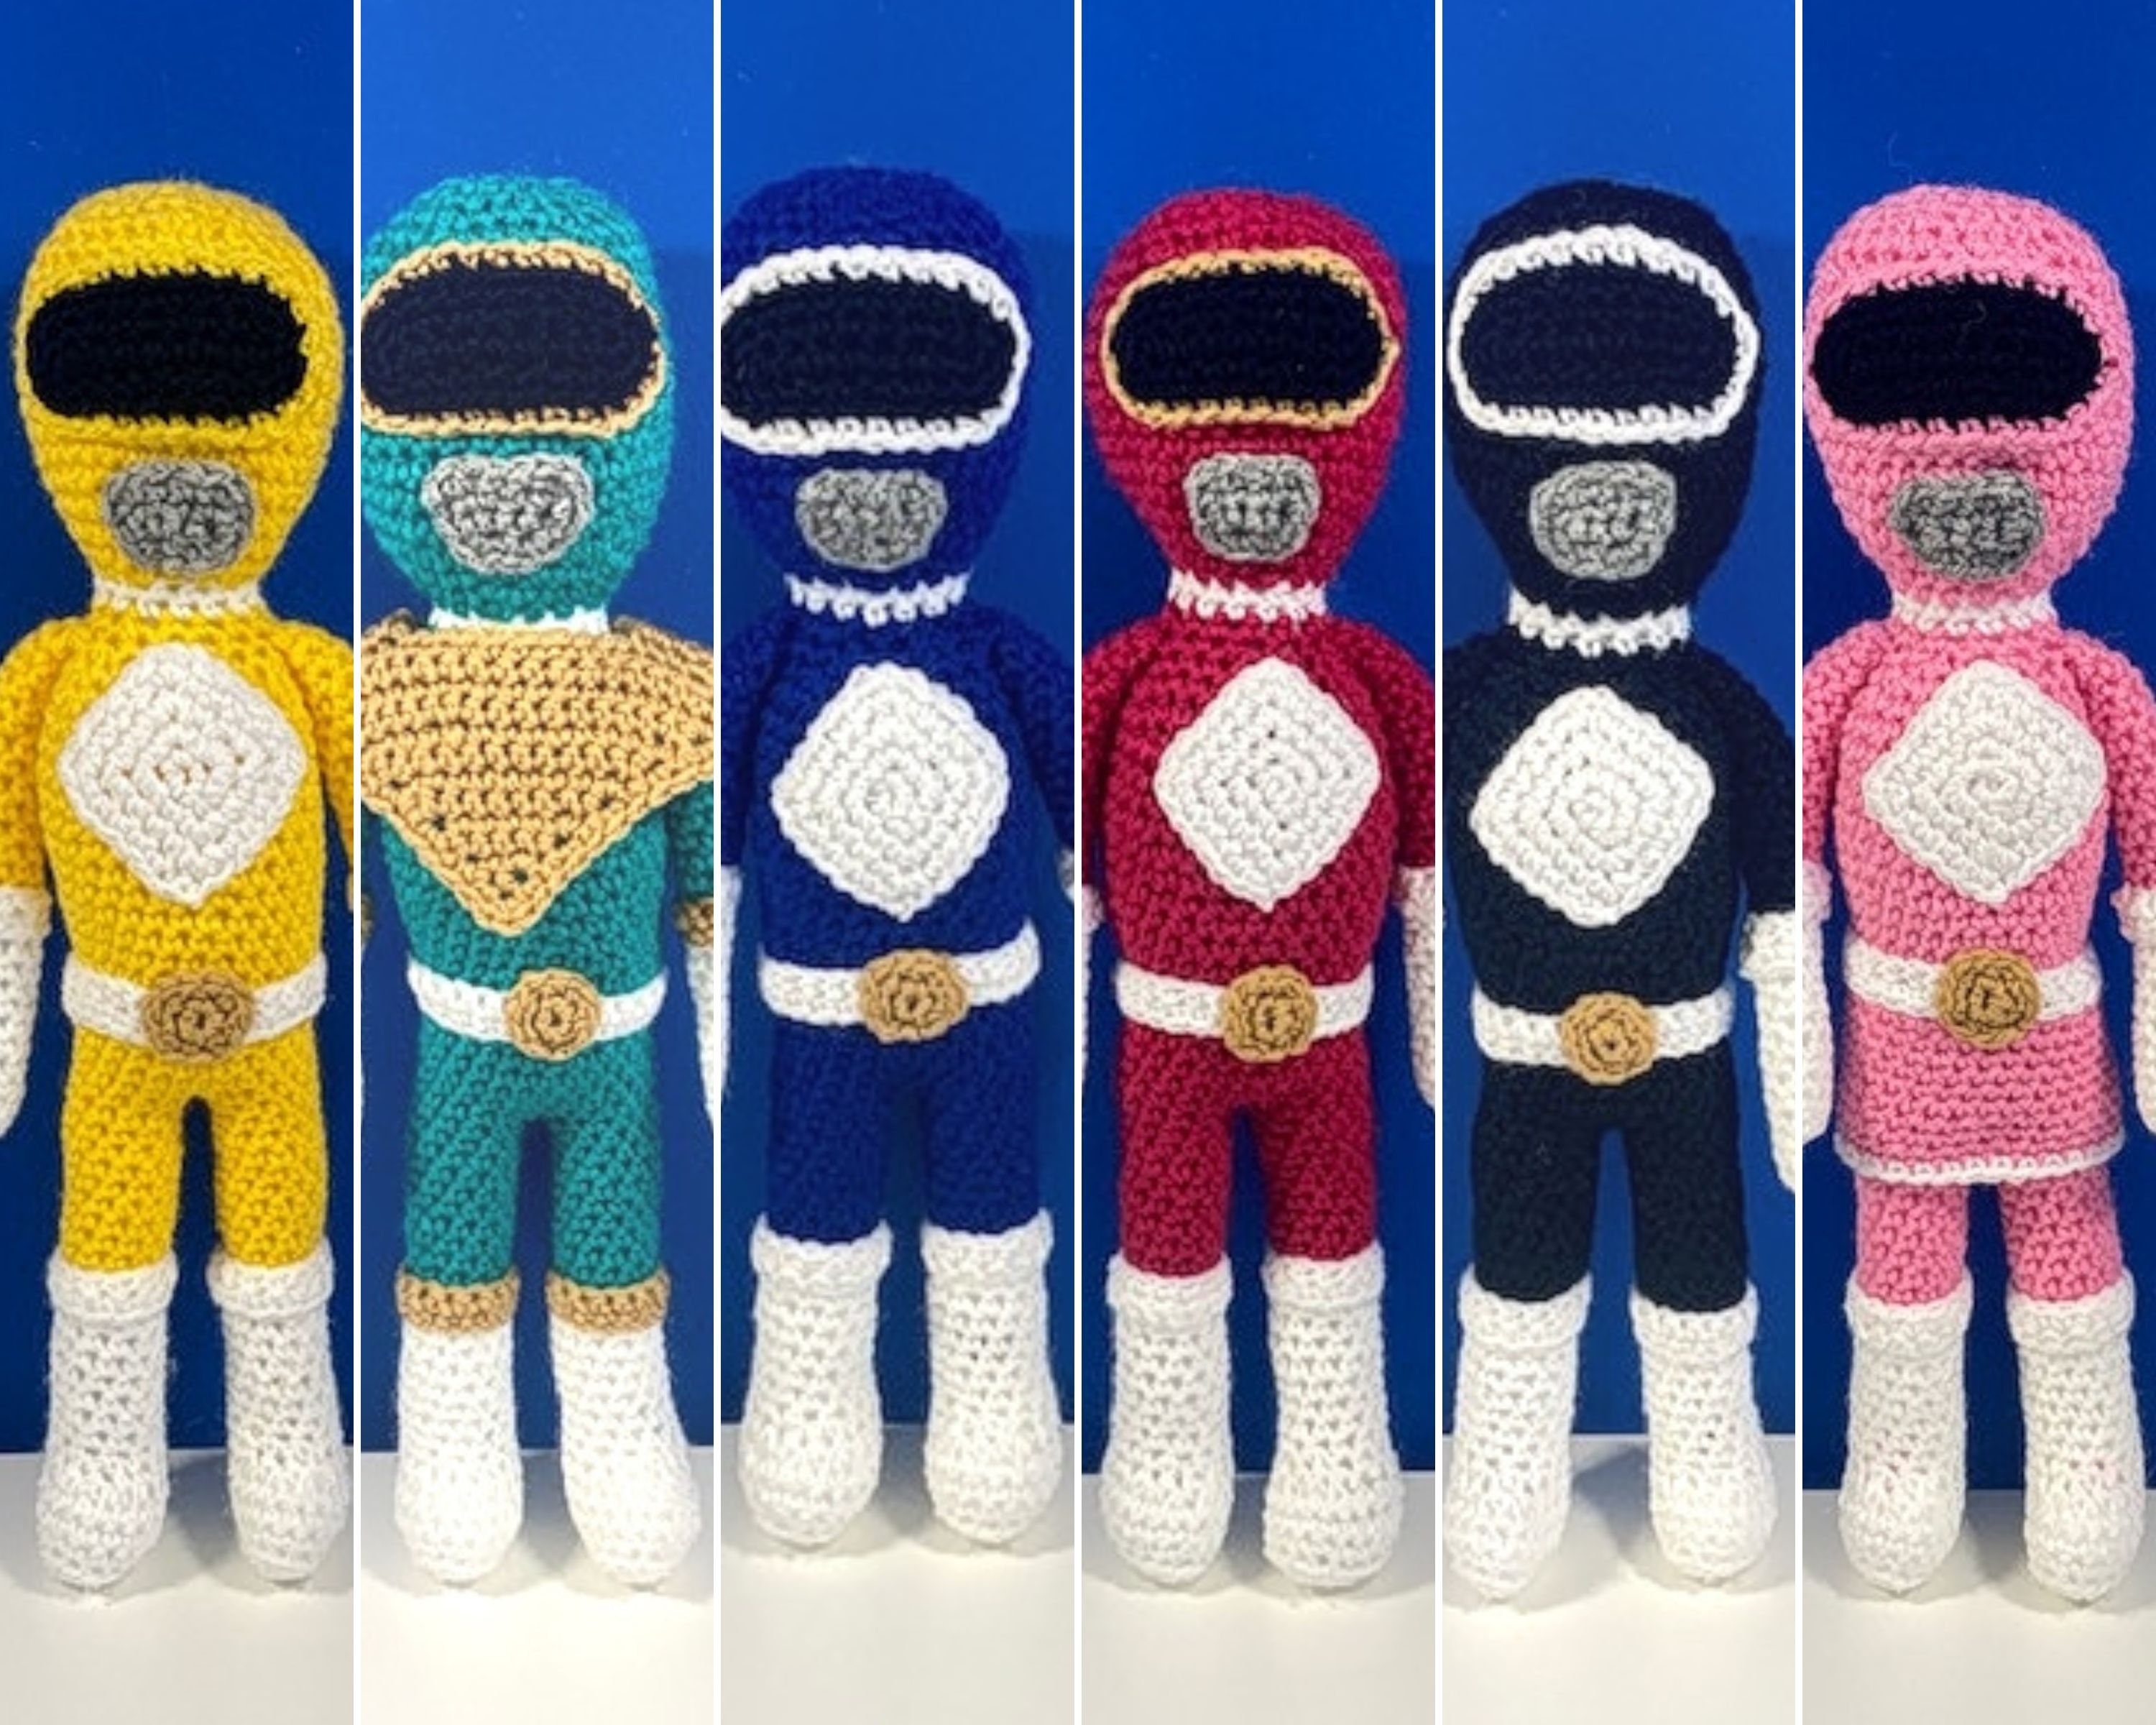
- Head: Mostly red, with a bit of black for the visor area.
- Body: Also red, with a white diamond shape on the chest.
- Arms and Legs: Red, with white and black details for the gloves and boots.
- Helmet: This was the trickiest part! Lots of shaping and color changes to get that iconic Power Ranger look.
Each part took me a while, especially since I was learning as I went. I spent a good few evenings just working on the head, getting the shape right. The body was a bit easier, mostly just straight single crochet. The arms and legs were pretty straightforward too, just little tubes, basically.
Putting it All Together
Once I had all the pieces, it was time to assemble my Ranger! I used a yarn needle (which is just a big, blunt needle) to sew everything together. First, I attached the head to the body. Then the arms and legs. This part was actually pretty satisfying, seeing him start to take shape.
The helmet was separate, so I could take it on and off. I added some small details, like the yellow “bolts” on the helmet, using just a bit of embroidery. And I stuffed everything firmly with the poly-fill stuffing, making sure he was nice and squishy.
And… he was done! My very own crochet Red Ranger! He’s definitely not perfect. He’s a little lumpy in places, and the stitching isn’t super neat, but I made him! And I’m pretty darn proud of that. It was a fun, challenging project, and now I have a cool little desk buddy to remind me of my childhood (and my newfound crochet skills!). Maybe I’ll tackle the Blue Ranger next…


