Okay, so I’ve been meaning to get around to this for a while, and today was finally the day I tackled the mighty mouse catch can install. My ride’s been needing this for ages!
Prepping for the Install
First things first, I gathered all my tools. Nothing fancy, just the basics: some wrenches, a socket set, a screwdriver, and some pliers. Oh, and of course, the catch can kit itself! I made sure I had everything laid out so I wouldn’t be scrambling around mid-install.
Next, I popped the hood and took a good look at the engine bay. Gotta figure out where this thing’s gonna go, right? I wanted it somewhere accessible but also out of the way of anything that gets super hot.
The Nitty-Gritty
I started by disconnecting the PCV hose. It was a little grimy, but nothing too crazy. I just used some pliers and to loosen the clamp and wiggled it off.
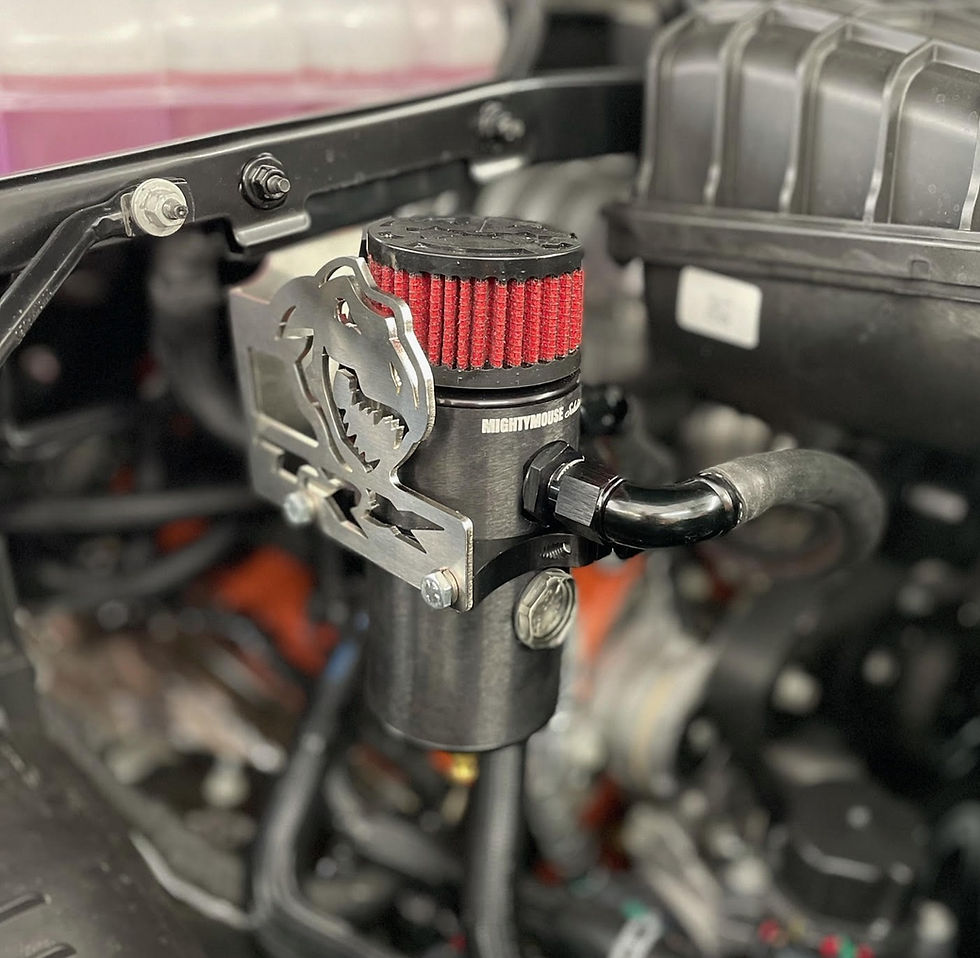
Then came the fun part – mounting the catch can. The kit came with a bracket, so I found a good spot on the firewall and bolted it in. Easy peasy!
- Connected The Hoses: I just fit the provided hoses to the correct fittings as shown on the instructions, it’s pretty straight forward!
The Home Stretch
With the can securely mounted, I connected the hoses. One goes from the PCV valve to the catch can, and the other goes from the catch can to the intake manifold. Again, just a matter of wiggling them on and tightening the clamps.
Finally, I double-checked everything. Made sure all the connections were tight, the bracket was secure, and nothing was rubbing against anything it shouldn’t be. Satisfying!
And that’s it! Took me maybe an hour or two, tops. Now I can rest easy knowing my engine’s a little bit cleaner and happier. Definitely a project worth doing!


